Saturday, November 10, 2012

Custom Binder Bags!

I am opening the option to have custom binder bags now. I am will only be taking 2 orders to start with! Please comment below if you are interested. The first 2 people to comment will be the first ones completed!

Please supply your email in the comments so that I may contact you.

Please have an idea of the fabrics you would like or colors that you would like to use. I typically use 3 different fabrics on each binder bag. Etsy is a great place to look for fabric. There are many different shops on etsy that sell fabrics.

I will also need to know the specifics of your binder. Brand,size, and also height and width when layin open.

Custom binder bags will cost $45. Shipping will be $6.

Here are examples of completed binder bags!

DSCN1592

Inside of the binder bag


More examples are available through my Facebook Page!

Red and Gray Striped Binder Bag

Here we go again with the binder bags!

DSCN1592

DSCN1596

This one is made for a Skilcraft 2.5 inch binder. It is made with fabric purchased from Connecting Threads. The exterior has a fun red and gray striped fabric with accents of red fabric with white stars.

DSCN1513

DSCN1508

The velcro used to close the sides is 2 inch wide. This will help keep your files, documents, or coupons safe. These side panels go from top to bottom!

DSCN1594

DSCN1591

The inside front cover has 3 pockets that have velcro clousure. The inside back cover has 3 pen slots and one large pockets to slide extra documents into.

DSCN1588

DSCN1590

The binder bag is fully lined with white fabric and has 2 layers of interfacing added in for extra durability.

DSCN1599

This one is in the shop!

Saturday, October 13, 2012

Mason Jar Pincushions!

I have a slight obsession with mason jars.....maybe not so slight. I use them for food storage, food preserving, thread storage, button storage, drinkware, and so many other things!
DSCN1404

But today I am showcasing pincushions! I was in the need for a new pincushion, so why not make a few extras to put in the shop!
DSCN1406
DSCN1405

My favorite is the blue and green damask! It already sold, but I still have a bit more of this fabric if you would like one.
DSCN1407

Of course we need a bit of Zebra in our lives!
DSCN1409
DSCN1410

I also love this Cosmo Cricket print!
DSCN1411

There are 3 listed in the shop right now if you are interested in any of them!

Thursday, October 11, 2012

Maroon Diamond Binder Bag

Like promised, I have been working on Binder Bags! It is very hard to find time to sew around here, but when it happens, I try to be very productive.

This binder cover is made to accomadate a 1.5 inch 3 ring binder. It was made specifically for an Avery binder. Notice!!! I do not supply the binders.
DSCN1420

This binder bag is made of high quality cotton fabric from Connecting Threads. The exterior is a beautiful maroon diamond printed fabric. The exterior has side flaps that go around to inclose the contents of your binder.
DSCN1414

DSCN1413

DSCN1415

On the inside of the cover there are 4 pockets and room for 3 pens or pencils.
Inside of the binder bag

The left side of the cover is 3 pockets that velcro to close. These pockets would be ideal for a small calculator, coupons for a shopping trip, or small pads of sticky notes.
DSCN1417

The right side has one large pocket to holder papers or documents. On top of that pocket is a place for your pens and pencils.
DSCN1418

The binder cover is completely lined and interfaced for added durability!
DSCN1419

I will be working on larger covers in the next few weeks! Please comment with the sizes of binders that you typically use! I am not currently taking custom orders but will be after the New Year!

Friday, June 29, 2012

Oversized Summer Buttercup Bag

Talk about a good morning! I finished sewing a purse! I did all the fabric cutting and prep yesterday morning and got all the sewing finished before 9:30 this morning!

DSCN1124 (566x800)

This is the oversized buttercup bag. I was asked a few months ago to do a custom order. The lady had looked online and had picked out something similar to a buttercup bag, so all I did was alter the top peice of the pattern and adjusted the lining peice too. If you purchase the Licenced to sell patter from MADE BY RAE, you get a larger size of the pattern too!

DSCN1125 (800x621)

This bag is made with one of my favorite fabrics. I don't know who manufactured it or when it was manufactured. I bought it last summer at a small town quilt shop that is now out of business. I really wish I would have bought more of it! I love the yellow gingham lining too! Just the perfect blend of colors for the summer! I hate using dark linings. You can never see the what is at the bottom of the bag!

DSCN1128 (800x532)

This morning I was also able to get the fabric cut to make a knit circle skirt with a yoga waistband for my daughter! I hope to get that done tonight! Fingers crossed that it fits! I am new to working with knits and had to combined 3 tutorials to get everything I wanted into one skirt!

I am linking up to Sew and Tell Fridays over at AmyLouWho's!


I am linking up to Sew Chatty Made with Love Monday's!
Sew Chatty

Thursday, June 28, 2012

Bags, Bags, and More Bags!

Thats what I have been working on....lots of bags! This is what I love creating the most! Fun, functional, and interesting! I have been working like a crazy lady lately trying to get lots of items in to my ETSY shop and trying to use up my stash. If you go to the shop now you can use coupon code SUMMER2012 at check out and it will save you 20%

The most recent bag is the Round Satchel by Ali Foster. The curves seemed intimadating at first but they are really simple when you use lots of pins. The hard part about this one was putting the lining and shell together when they were really thick. Its done now and turned out to be a very summery bag!

DSCN1116 (601x800)

Also this week, I worked on a Air Force Wife purse. I love making bags out of the military camo. They come together so cute and you can add almost any color to them! The bonus on this is the AIR FORCE WIFE embriodery.

DSCN1092

The zebra print buttercup bag is made using one of my favorite patterns. You can go here to get it for free or you can go to my shop to by a finished purse. So many options with the zebra! I love using the pink lining, but any color looks great with zebra.

DSCN0609 (544x800)

The last bag is a custom order that I did in March. I used a large size of the buttercup bag and made some alterations to the top of the bag! I love how this one came out and I have another one in the works on my sewing machine. The fabric for this one is from the Aviary 2 line by Joel Dewberry. The colors were great to work with.

DSCN0592 (600x800)

I will be working on several more bags over the next few weeks! I can't wait to show the end projects!

Monday, June 25, 2012

Salsa Review---Ball Fiesta Salsa Mix

Last summer I bought the Ball Canning Discovery kit. It came with a salsa mix packet in with it, however I am not sure if this kit still does! The package is labeled as Ball Fiesta Salsa Mix. It is supposed to make 2 pint size jars of salsa.

DSCN1106

The ingredients inside the packet are dehydrated green bell pepper,salt, dehydrated onion,dehydrated garlic, spices, sugar, suflower oil, and jalopeno pepper powder. I was very happy that I could pronouce all of these ingreidents. All you have to supply is 2lbs fresh tomatoes, 3tbs vinegar, and 2 pint jars with lids and flats. I suggest that you have 3 ready. I was happy that I did, I ended up with 3 full jars.

DSCN1109

I used the same method for peeling my tomatoes as I did in my previous salsa post. However, I used beef steak tomatoes this time. This packet is compatible with canned tomatoes too! It says on the back that if you do not have fresh tomatoes to buy 3 cans of petite diced tomatoes. So if you want this process to go even quicker, just do that!

DSCN1110

I used my handy little food processor again this time! Doing this makes the chopping go much quicker. I wanted to make sure you saw what the contents of the packet looked like. So that is what is in the pot in the picture. You bring all this to a boil, let simmer five minutes, and then you are ready for the jar. I spotted a few larger chunks of tomatoe in my pot, so I decided to use the submersion blender. This will give me a very fine chopped salsa, close to the consistincy that you would get in most mexican resturants.

DSCN1113

On to the jarring. This is routine with most salsa recipes. Ladle in to your jars, leaving 1/2 inch of space between salsa and top of the lid. I used my canning basket this time. It holds 3 pint cars very nicely and works inplace of the canning rack. You will process this in your boiling water bath for 35 minutes. This seemed incredibly long to me but you really didn't have the mixture cooking for that long, so I guess this completes the cooking too. Pull out and cool to room temp. The package also if you want to enjoy it right away cool your mixture to room temp. before adding it to your jars. Ladle in and refridgerate.

DSCN1112

My verdict on this is that it tastes much like what you find in the resturant. I am going to use this in place of the thick and chunky salsa that I would typically by at the store for a few of my recipes.

I am linking up to We did it Wednesday! Go check it out

Saturday, June 23, 2012

Pretty Little Bobby Pins

I am working on adding several new items to my ETSY SHOP! If these bobby pins go over well I will be ordering more supplies to make them! Let me know what you think!

DSCN1085


DSCN1084


DSCN1081

Monday, June 18, 2012

Homemade Salsa

Have you ever tried to make salsa on your own and it just turned out terrible? Yeah, me too! I never thought making salsa could be so easy, but it is.

Afraid of canning? Don't be! There are many resources out in the web that are full of all the info you need.

My grandparents have been canning for several years. Tomatoes, tomatoe juice, salsa, pickles, and pickled okra just to name a few. Summer was always a busy time to go over to help, but you could learn so much just by watching, and if you were lucky they would let you help! I still haven't got the hang of canning pickles on my own but I am getting pretty darn good at salsa.

DSCN1061

6 cups tomatoes, peeled and chopped (I used Roma)
8 jalopenos, seeded and chopped
1 1/2 cups onion, chopped
6 cloves garlic, minced
1 cup vinegar
2 1/2 teaspoons salt

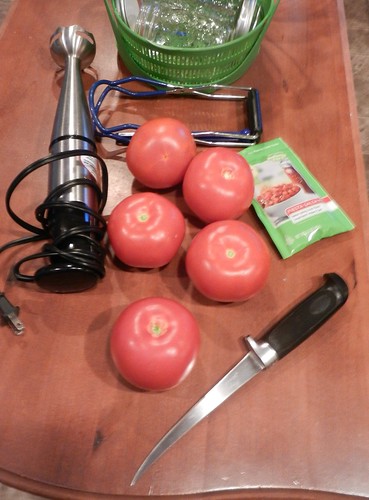
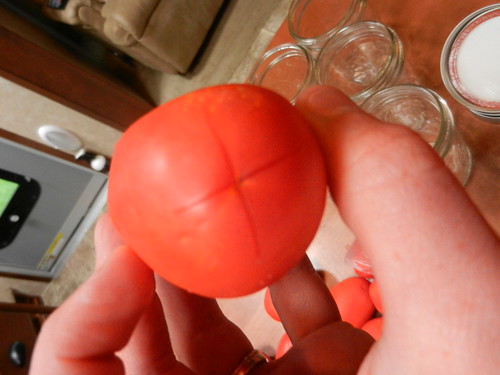
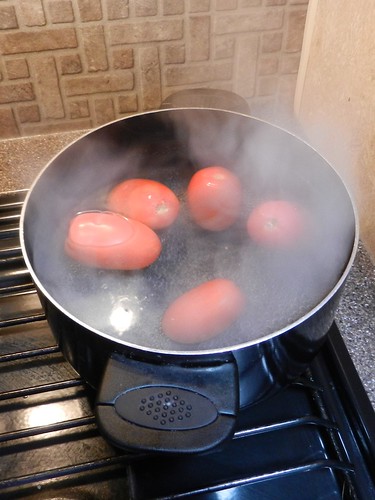
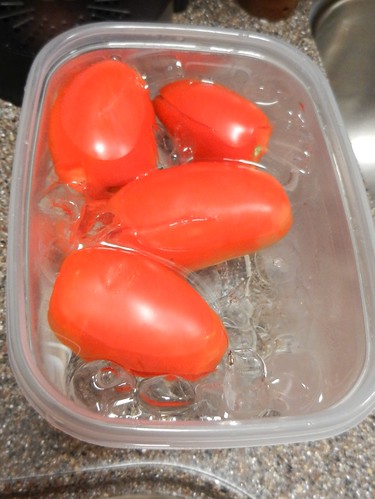
To get started wash your jalpenos and tomatoes. Put a pot of water on and bring to a boil. In the mean time, get a large bowl and fill with ice water. Take all of your tomatoes and with a knife cut a small X on the bottom. Not where the stem was attached. When finsihed, place 3 or 4 in your boiling pot of water. Leave until the skin of the tomatoes appears to crack. Then move the tomatoe to the ice water. Let set until you are finished doing this to all the tomatoes. Take you first tomatoe out of the ice water and peel the skin of the tomatoe off and throw it into the trash.

DSCN1063

DSCN1064

DSCN1065

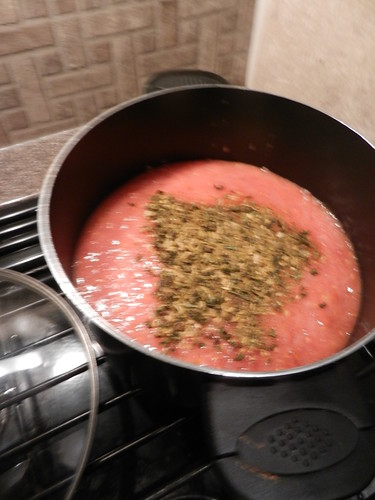
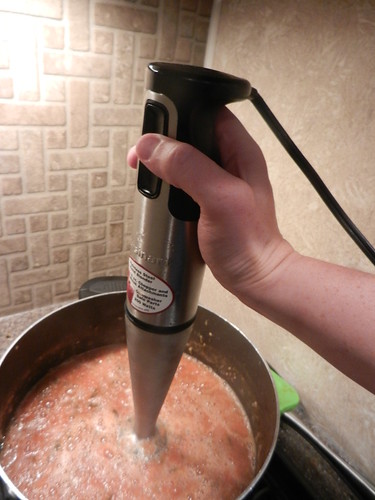
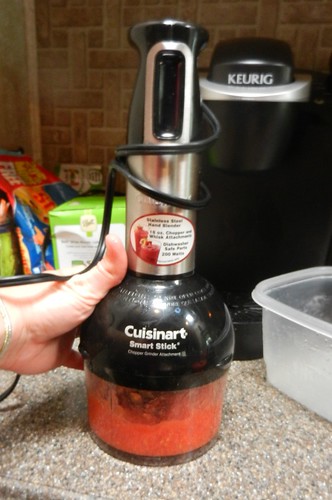
Now, you will need to chop all your produce. I used a mini food processor. This works great for me because I do not have a lot of kitchen space. If you don't have a food processor, you can use a submersion blender, or a good ole knife. Toss everything in your pot, add vinager and salt.

DSCN1066

DSCN1068

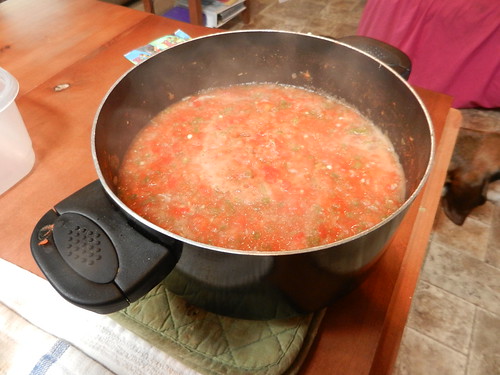
At this time turn your heat on your pot. Bring to a boil, cover and simmer for 5 mins.

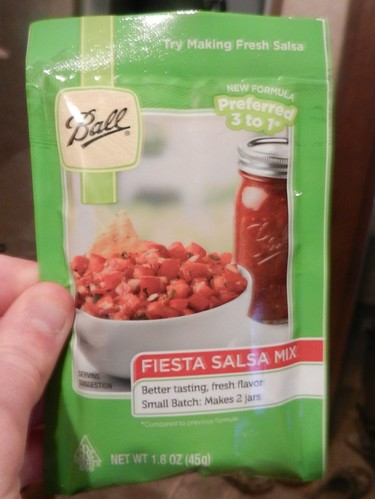
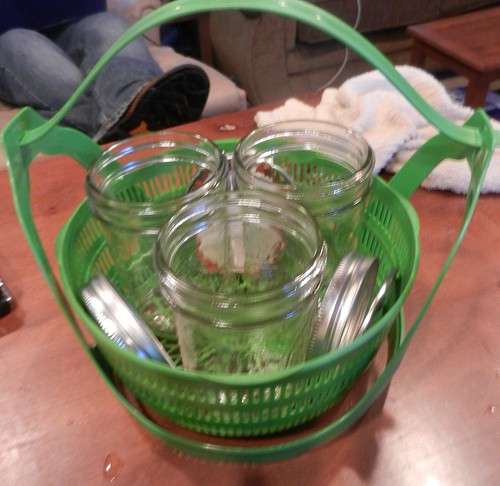
Now you are ready to put your salsa in your jars. If you are new to canning, you may want to go to the Ball/Kerr website to read up on a few tips on canning. You will need a large pot, pint mason jars, lids, and flats. I also you a jar lifter and a canning funnel.

DSCN1070

DSCN1073

DSCN1074

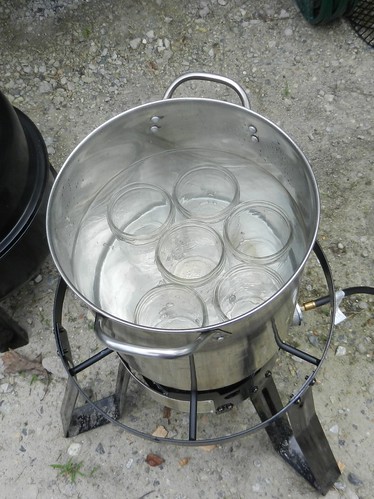
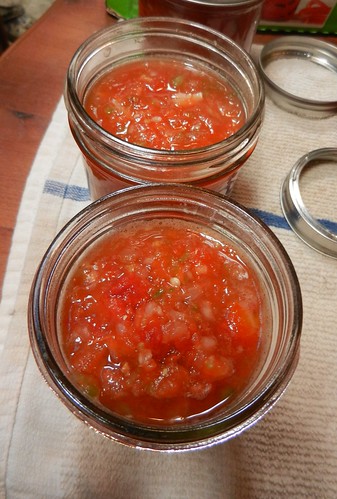
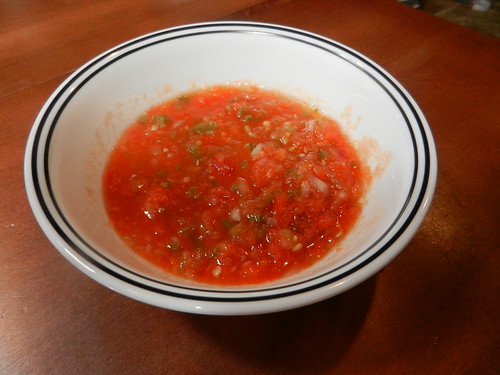
Using a large spoon, pour your salsa in your jars, leaving one inch between the salsa and the top of the jar. Wipe the top of the rim with your finger making sure there is nothing on the rim, place the flat on the jar and tight the lid on to the jar. Do this until there is no salsa left in your pot. I had some left that would not fill my last jar. No worries. Just put it in a bowl and enjoy! Once all your jars are full it is time to take your jars to your large canning pot. Your pot should have enough water in it to cover the submerged jars by close to 4 inches. Place your jars in the pot with your jar lifter. They need to boil in the pot of water for 20 minutes. Remove after 20 minutes with your jar lifter. Let cool in a non drafty space. After about an hour you should hear little clicks or pings. That is your jars sealing. Let your jars continue to cool. Once cool, store in a cool, dark location. Jars will store for a year. Enjoy

DSCN1075

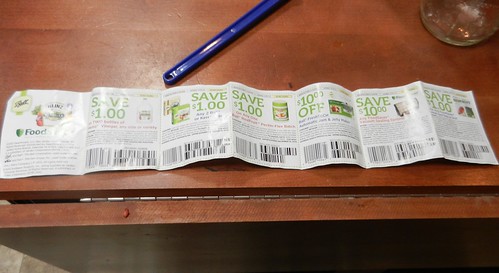
Ps. If you are new to canning, look on packages of jars for coupons. This will make getting started much cheaper!

DSCN1062

I am linking up to Sew Chatty! Made With Love MONDAYS!
Sew Chatty


I am linking up because I love it!